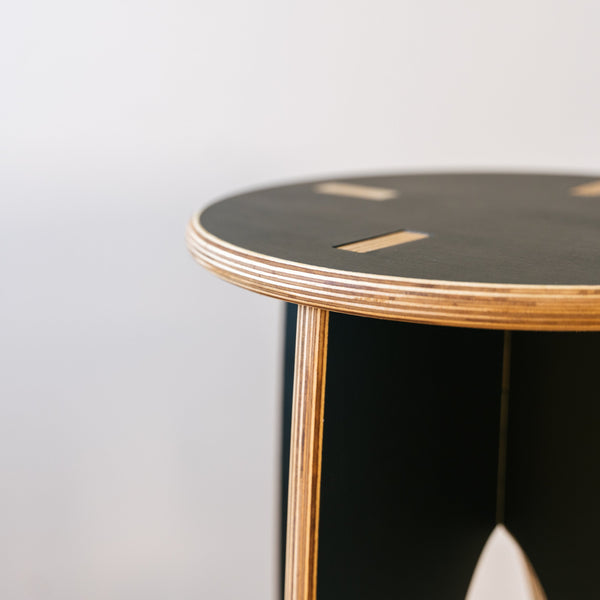
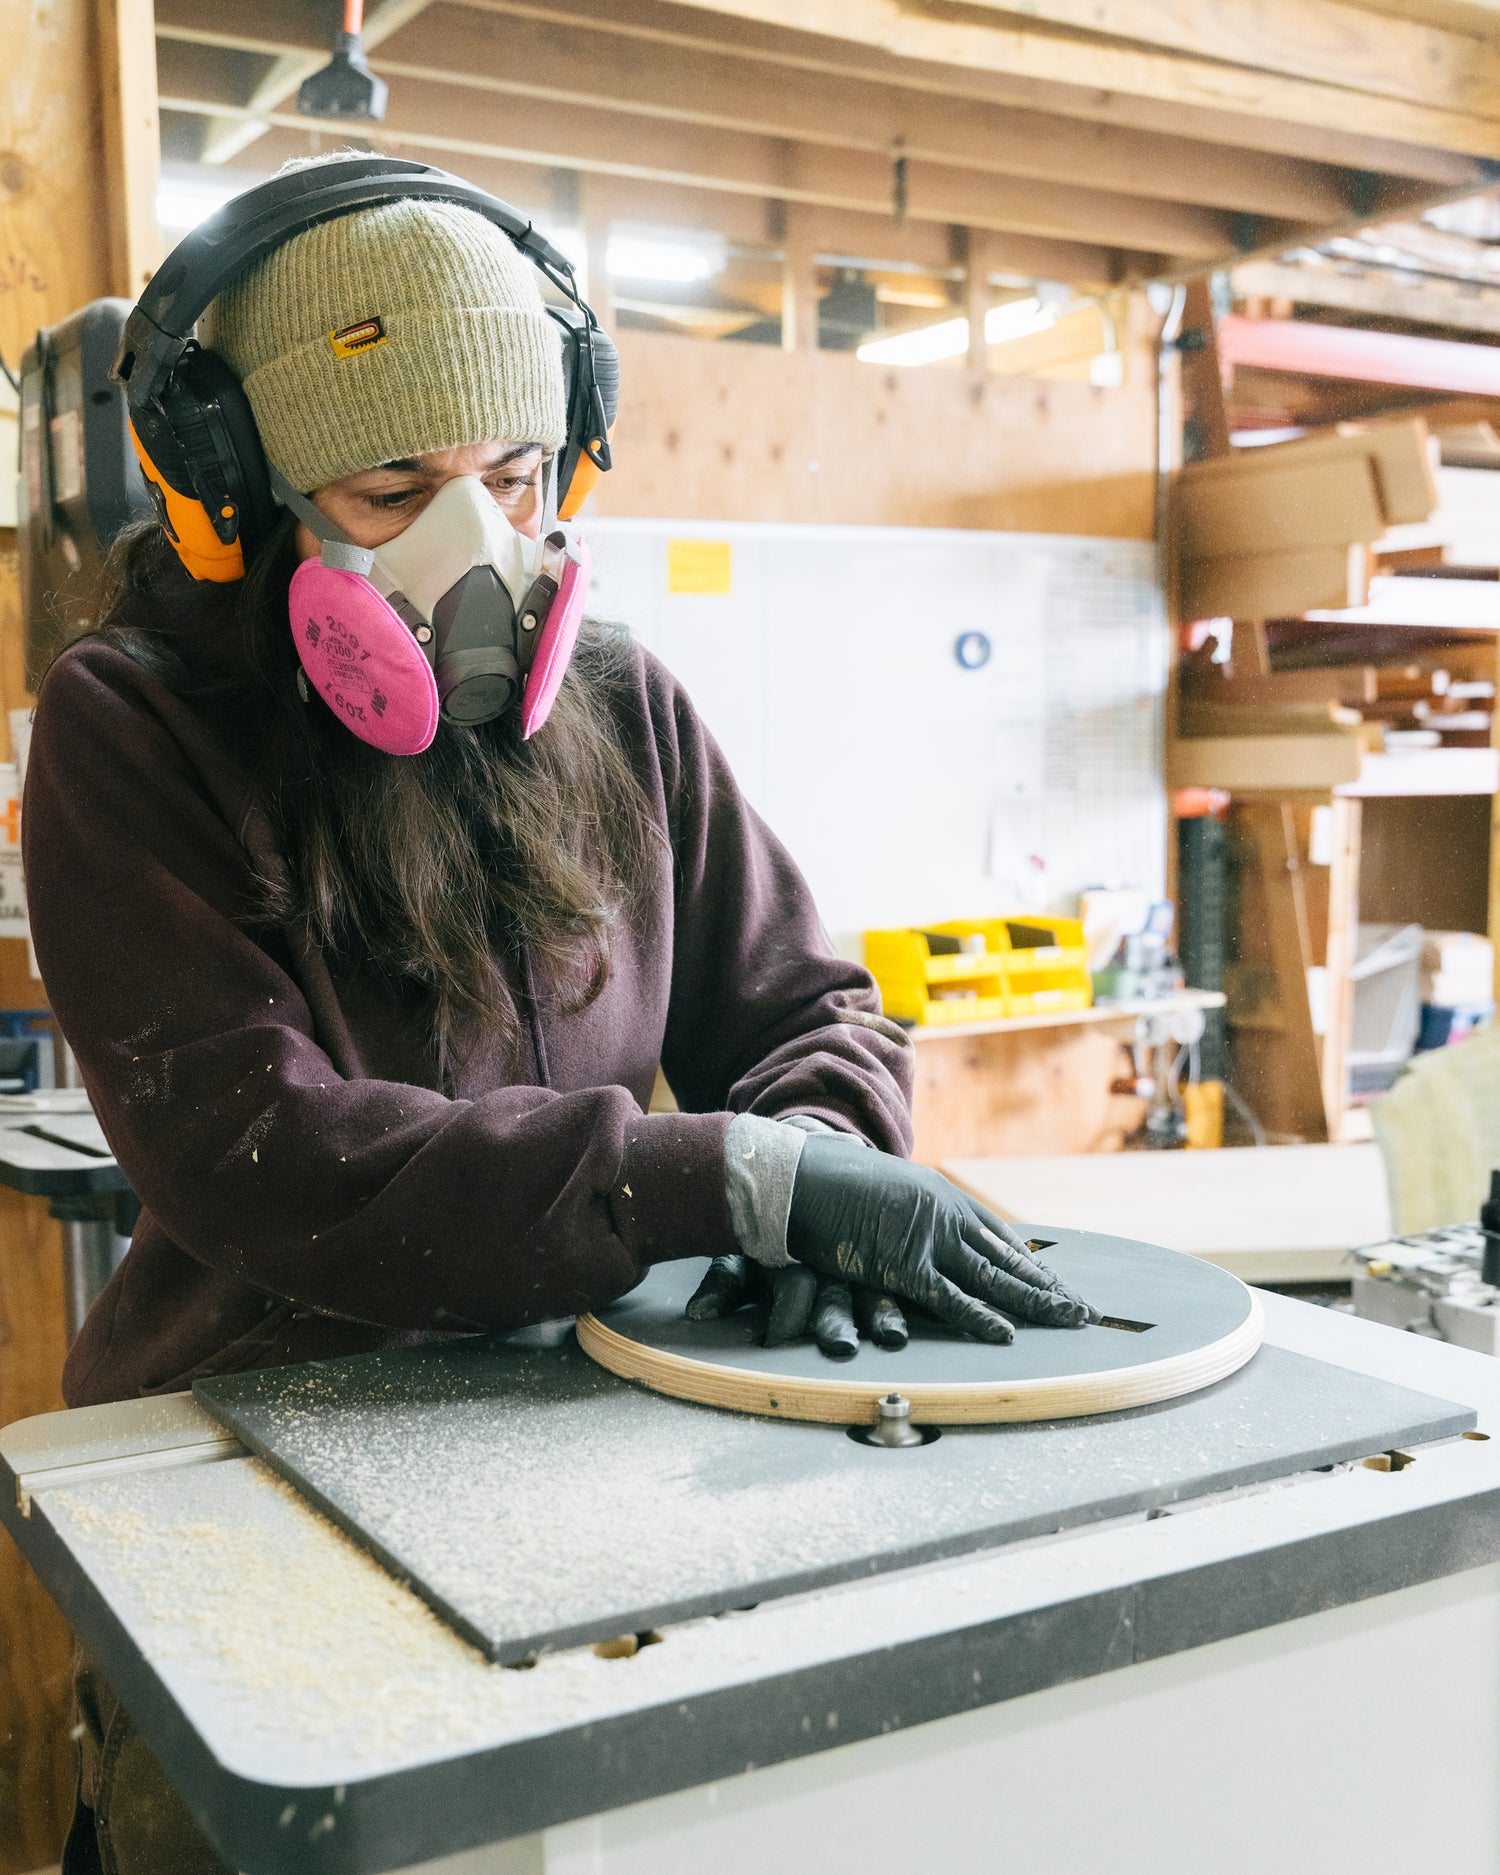
Our Simple Stools have been a studio favorite for two years now! They have evolved along the way and just keep getting better. Long overdue, we are excited to share a behind the scenes look at how we make these colorful home accents in our Central California Coast studio.
Reading not your thing? Check out this video for a more visual take on the process.
1 • CNC
The CNC (Computerized Numerical Control) is a machine that you will find just about everywhere in modern manufacturing. In simple terms, it is a tool that cuts what you tell it, how you tell it. The CNC works in tandem with us to create a product that is precise, consistent, and more affordable.
The key to using the CNC is starting with a well thought out design. These machines are ultra precise, so the CNC only cuts what you program. It is essential that your CAD/CAM (fancy terms for 3D mock-up) are precise.

CAD Rendering of the stool components sliding together.
Fresh off the CNC there are already a few details that are worth calling out. First - the top mortises: woodwork speak for holes where the legs poke through. A unique step we take is to run these cuts twice, once with a big bit, then finalized with a smaller 1/8" diameter cutter. What this means for the product is that our stools barely have any over-cut in the visible corners.
Fun Fact: These little extra corner cuts are called Dog Bones.
The second detail worth mentioning here is how little waste there is on the sheet of plywood. It is both economical and ethical to design work that can utilize as much of the raw material as possible. That said, we have got a long way to go and have collected many offcuts over the past two years. We are still working on fun, process-oriented ideas for these little pieces.
2 • Time to Paint
With the legs and tops all cut out, we are nearly ready for painting. We first sand all the faces. We want our painted surface to feel silky smooth when all is said and done. Sanding at this stage also allows the stools to fit together with just the right amount of gentle persuasion.

We normally work in batches of six. And, if the weather is nice, we opt to paint outside :)
Early on in product testing, we decided to use milk paint from Tennessee-based The Real Milk Paint Co. An eco-friendly choice, milk paint is based on the milk protein Casein. Mixed with lime, a plant-based filler, and earth pigments, this VOC-free paint is friendly to the earth and your home. Seriously, the paint is even safety rated for the littlest ones in your life and your pets!
The downside of milk paint is that it is a little trickier to get the results we are after than with a conventional latex paint. Lucky for you, we are professionals.
After our first coat has dried, we sand it back, ensuring a smooth final result. Then, the second coat goes on to again get sanded after drying. Yes, all of our stools get two coats of paint.
To get into the final stages, we really want to seal that color in. So next, we apply an initial coat of Hardwax Oil. These plant-based finishes are an eco-conscious choice that, like milk paint, requires a lot of elbow grease and patience to apply correctly. This first coat of oil gets us ready to focus on edge treatment.
3• Silky Smooth Edges
When we pull the stool components off of the CNC, the edges are nothing to write home about. These next few steps, however, separate our Simple Stool from your garden variety flat pack furniture manufacturer.
The roundover comes first. With it, the edges are starting to look a little more finished. But, the feel is not quite right. Being careful not to nick our painted and finished surfaces, we sand the edges up to a fine grit for a smooth final touch.

Crisp, clean, and smooth edges on our Simple Stools
At this stage, the stools are looking and feeling very polished. But, a final coat of wax over the faces and edges levels it up even further.
More than just aesthetics, finishing the edges is an important and often skipped step by many makers. The reason it is important? Plywood will tend to wick moisture in through the edges. Over time, or after getting wet, this may begin to degrade the material integrity. You can rest assured that this final coat of hardwax oil helps to extend each stool's longevity.
Speaking of materials, let us take a second to talk about the Baltic Birch plywood we use in the stools. For years, Baltic Birch Plywood has been the highest quality sheet good you can find. It features many layers of hardwood veneer throughout the sheet, each adhered with quality waterproof glues. This means there are no voids, and no thin veneers to chip away over time. On the other hand, most consumer facing plywood on the market has core veneers of cheap wood, sawdust, and potentially other junk. On those, the nice face you see may only be 1/64” thick. Using Baltic Birch, the final product is more beautiful and longer lasting.
4 • Time to Wrap it Up
At this point, the stools make their way upstairs at our studio. We install a small neoprene gasket to help tighten the joints for years to come. With a final inspection, cleaning, and test fit, each stool is ready to go.
Every stool arrives in our specially designed box, making it perfect for gifts - for yourself or a loved one!

Our Simple Stool makes for a great housewarming gift. We've put a lot of care into the packaging to take it that extra mile.
Thanks for reading along! If you have any questions or comments, please do reach out!
– Team JOHI

